Glucose sensor calibration is the process of matching a CGM’s interstitial sensor signal to a reference blood-glucose measurement so the device reports a meaningful, accurate glucose number. According to Abbott’s FreeStyle support page, some modern systems are factory-calibrated and require no routine fingersticks, while others ask you to enter a fingerstick value on a schedule or when readings seem off. Either way, the core principle is the same: the sensor’s raw electrical output needs a reference point to become the mg/dL number you act on.
The practical takeaway is straightforward. If your device requires calibration, you must enter a quality fingerstick value at the right time, and timing matters more than most users realize. Factory-calibrated devices like the Dexcom G7 and FreeStyle Libre 3 reduce that burden, but they are not immune to drift. Accuracy is typically measured using MARD (mean absolute relative difference), and ISO 15197 criteria serve as a common benchmark for acceptable glucose meter performance. Always check your device manual for the exact calibration windows your model requires. That one step prevents most calibration errors before they start.
Key Takeaways
Glucose sensor calibration converts a sensor’s raw electrical signal into an accurate mg/dL reading, and whether your device requires manual input or is factory-calibrated, timing and technique determine how reliable that number is.
| Point | Details |
|---|---|
| Calibration defined | Calibration matches a CGM’s interstitial signal to a blood-glucose reference to produce a meaningful glucose number. |
| Factory vs. user-calibrated | Factory-calibrated systems (Dexcom G7, Libre 3) need no routine fingersticks; user-calibrated systems require scheduled or on-demand entries. |
| Timing is critical | Never calibrate during rapid glucose change; a flat trend arrow and 30 minutes of stability are the minimum conditions. |
| MARD range for modern CGMs | Published comparative studies report MARDs in the approximately 9.5–12% range, varying by comparator method and glucose range. |
| Always verify with symptoms | If readings and symptoms conflict, confirm with a fingerstick before acting on the CGM value. |
Table of Contents
- What does glucose sensor calibration mean, technically?
- How factory-calibrated and user-calibrated systems differ
- When you should calibrate and when you should skip it
- How to calibrate your CGM: a step-by-step checklist
- How calibration affects your CGM’s accuracy numbers
- What Dexcom and FreeStyle Libre tell users about calibration
- Common calibration errors and how to fix them
- What the research says about calibration and CGM accuracy
- Calibration confidence: a practical mindset for CGM users
- Sources
What does glucose sensor calibration mean, technically?
The raw signal your CGM sensor produces is an electrical current, not a glucose number. An enzyme coating on the sensor tip reacts with glucose in the interstitial fluid, generating a small current proportional to glucose concentration. According to a peer-reviewed Biosensors article in MDPI, calibration is the mathematical step that estimates two parameters, sensitivity (the slope) and offset (the intercept), to convert that current into mg/dL. Both parameters can shift over the sensor’s wear life because of biofouling and changes in enzyme activity, which is why calibration addresses what engineers call sensor drift.
There is also a physiologic layer to understand. Your CGM reads glucose in interstitial fluid, not blood. Interstitial glucose typically lags behind blood glucose by roughly 5–15 minutes, particularly when glucose is changing fast. That lag is why calibrating during a rapid rise or fall produces a distorted sensitivity estimate: the fingerstick value and the sensor signal are not describing the same moment in time.
The process flows like this: raw current → sensitivity/offset algorithm → glucose value in mg/dL → display. Calibration is the step that sets or updates those algorithm parameters. Get the timing wrong, and every reading downstream carries that error until the next calibration corrects it.
Pro Tip: Calibrate only when your glucose has been stable for at least 30 minutes. A flat trend arrow on your CGM is a reliable visual cue that the interstitial and blood values are close enough to produce a clean calibration.
How factory-calibrated and user-calibrated systems differ
The industry has moved strongly toward factory calibration. The ADCES CGM glossary explains that factory-calibrated systems are designed to eliminate the need for ongoing fingersticks, using pre-set algorithm parameters determined during manufacturing. User-calibrated systems, by contrast, ask you to enter fingerstick values on a schedule or when the app requests one.
| Dimension | Factory-calibrated | User-calibrated |
|---|---|---|
| Manual calibration required? | No (routine fingersticks not expected) | Yes (scheduled or on-demand) |
| How to calibrate | No user action; algorithm pre-set at factory | Fingerstick BG entered in app within allowed time window |
| Typical wear time | 10–15 days per sensor (varies by model) | Varies; some long-wear systems up to 365 days |
| Common accuracy effects | Accurate across most ranges; may drift near hypo/hyper extremes | Can achieve high accuracy when calibrated correctly; errors if timed poorly |
| When manual check is still advised | Symptoms conflict with readings | As specified by device manual |
The Dexcom G6 and G7 and the FreeStyle Libre 2 and Libre 3 are all factory-calibrated for the US market. The Eversense 365, an implantable sensor with a one-year wear life, uses a different approach: its manufacturer guidance specifies fingerstick calibration once a week after day 13, plus additional calibrations whenever symptoms do not match the CGM reading.
One point worth holding onto: factory-calibrated does not mean perfectly accurate in all conditions. Manufacturer guidance for both Dexcom and Abbott still advises confirming with a fingerstick when readings do not match how you feel. The factory calibration sets a strong starting point; your symptoms and a reliable meter are the safety net.
When you should calibrate and when you should skip it
Knowing the right moment to calibrate is as important as knowing the steps. The Accu-Chek/mySugr calibration guidance is direct on this: calibrating during rapid glucose change produces inaccurate results because the fingerstick and sensor are measuring different moments.
Calibrate when:
- Your app or device explicitly requests a calibration
- Sensor warm-up is complete and glucose has been stable for at least 30 minutes
- You notice a persistent gap between your symptoms and the CGM reading
- You restart a sensor or begin a new wear session on a user-calibrated device
- Your clinician advises it after a medication change that may affect sensor chemistry (tetracyclines are a known example for some systems)
Avoid calibrating when:
- Your CGM shows a rapid-rise or rapid-fall trend arrow
- You have eaten within the last two hours and glucose is still climbing
- You are recovering from a low (glucose is rising quickly)
- The sensor is still in its warm-up window
The practical interpretation of the 20/20 rule is useful here. A reading is considered clinically acceptable if it falls within a small mg/dL range of the reference value when glucose is low, or within a certain percentage range when glucose is normal or high. This widely used benchmark, drawn from ISO 15197 guidance, is not a guarantee your device will always hit it, but it gives you a frame for deciding when a discrepancy is worth acting on versus when it falls within normal variation.
Community and clinician sources, including Diatribe’s CGM tips, consistently point to early morning before breakfast as one of the most reliable calibration windows, since overnight fasting usually means stable glucose.
How to calibrate your CGM: a step-by-step checklist
This checklist applies to user-calibrated systems. If your device is factory-calibrated, follow these steps only when your manual or app specifically requests a calibration.
- Confirm warm-up is complete. Your app will indicate when the sensor is ready. Do not attempt calibration during the warm-up window.
- Choose a stable moment. No meals, exercise, or insulin doses in the past two hours. Look for a flat trend arrow on your CGM display.
- Wash and dry your hands thoroughly. Residual food sugars on fingertips are a leading cause of falsely high fingerstick readings.
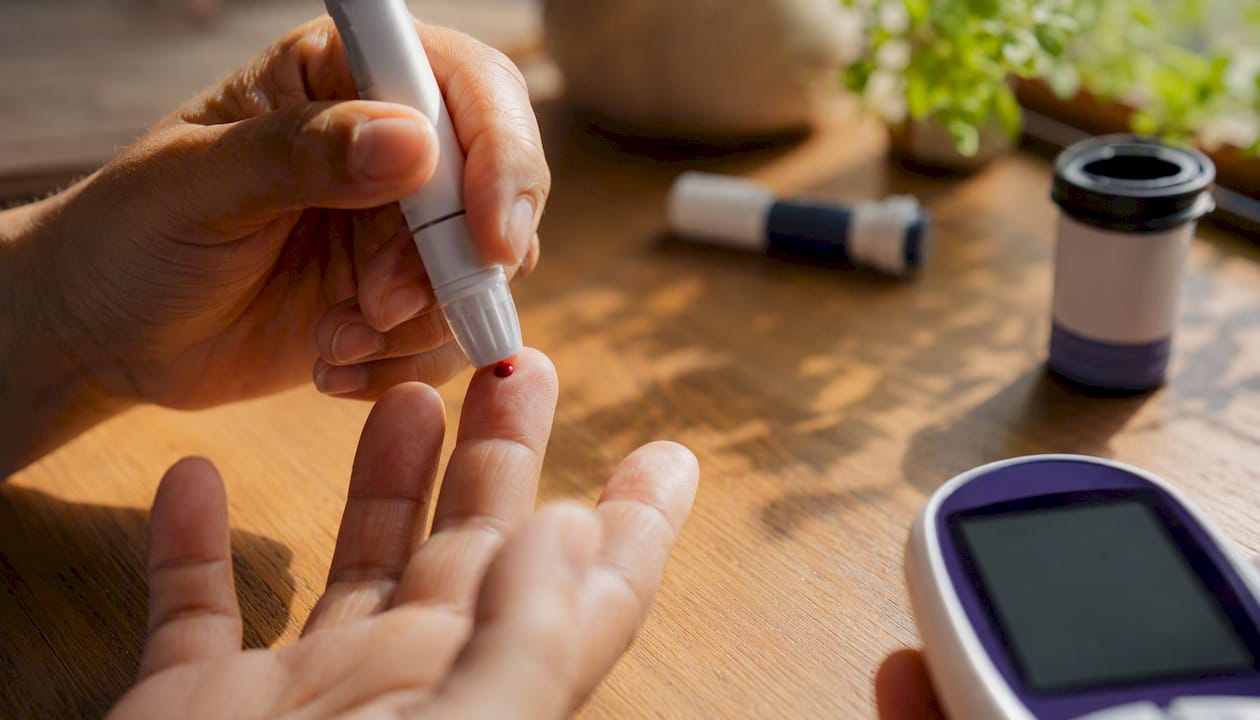
- Perform a quality fingerstick. Use a reliable, recently tested meter and a fresh lancet. Discard the first drop of blood; use the second. Keeping quality test strips on hand is part of calibration readiness.
- Enter the value in the app immediately. Most systems require you to enter the fingerstick result within a short window, often two to five minutes. Delay introduces timing error.
- Confirm the calibration was accepted. The app will acknowledge the entry. If it rejects it, do not re-enter the same value.
- Troubleshoot a rejection calmly. Wait 15 minutes, check that glucose is still stable, perform a fresh fingerstick, and re-enter. If the meter reading seems inconsistent, run a control solution check on the meter itself.
- Repeat when glucose is changing. A calibration entered during a stable period is far more reliable than one entered during a post-meal spike. If you had to calibrate at a non-ideal time, plan to re-calibrate once glucose stabilizes.
If the app rejects two consecutive calibrations or the sensor shows a persistent, unexplained bias, contact the manufacturer’s support line or your clinician before continuing to rely on the device for treatment decisions.
How calibration affects your CGM’s accuracy numbers
MARD, mean absolute relative difference, is the standard metric for CGM point accuracy. It expresses the average percentage gap between CGM readings and a reference measurement across a set of paired data points. Lower is better.
A 2025 comparative study on PubMed reported MARDs in the approximately 9.5–12% range across comparators for several modern CGM sensors, and noted that reported accuracy varied by comparator method and glucose range.
| Accuracy metric | What it measures | Typical range (modern CGMs) | Clinical relevance |
|---|---|---|---|
| MARD | Average % deviation from reference | ~9.5%–12% (varies by comparator) | Point accuracy; lower = more reliable readings |
| Clarke Error Grid Zone A | Readings within clinically safe range | Target: majority of readings | Readings in Zone A carry no clinical risk |
| Clarke Error Grid Zone B | Benign deviation; no dangerous action | Acceptable secondary zone | Minor treatment adjustment errors possible |
| ISO 15197 criteria | ±15 mg/dL or ±15% threshold | Used as regulatory benchmark | Minimum acceptable accuracy for clinical use |
MARD alone does not tell the whole story. Systematic reviews of CGM performance recommend using multiple metrics, including MARD, mean absolute difference, and consensus error grids, because MARD is sensitive to the glucose distribution in the study sample and to rate of change. A sensor tested mostly in the normal range will show a lower MARD than one tested across hypo and hyperglycemic ranges, even if both devices perform identically in the normal range.
For treatment decisions, the practical guidance is: if a reading is within the 20/20 rule threshold and your symptoms match, act on the CGM. If there is a meaningful gap or your symptoms conflict, confirm with a fingerstick before adjusting insulin or treating a low.
What Dexcom and FreeStyle Libre tell users about calibration
Both major US factory-calibrated CGM systems, Dexcom (G6 and G7) and Abbott FreeStyle Libre (Libre 2 and Libre 3), are designed for no-calibration daily use. Their manufacturer guidance pages advise against entering routine fingerstick calibrations unless the app specifically requests one, because an unnecessary calibration on a factory-calibrated system can actually introduce error rather than correct it.
Dexcom’s guidance for the G6 and G7 notes that the devices use a factory-set algorithm and that users should confirm with a fingerstick when symptoms do not match the CGM reading, before making a treatment decision based on a reading that seems inconsistent, or when the app displays a calibration request. The G7 does offer an optional calibration feature, but Dexcom frames it as a tool for persistent discrepancies rather than routine use.
FreeStyle Libre 2 and Libre 3 operate on a similar principle. Abbott’s calibration support page describes the factory-calibration approach and advises users to check the device manual for model-specific guidance. Abbott does not recommend routine fingerstick calibrations for Libre 2 or Libre 3 under normal use.
For long-wear implantable systems like the Eversense 365, the protocol is different by design. Weekly fingerstick calibration after the initial period is built into the device’s accuracy model, and the manufacturer specifies additional calibrations when CGM readings conflict with symptoms. Always check your model’s manual. The rules differ enough between systems that general advice can mislead you if applied to the wrong device.
If you are switching between CGM types and need to learn a new calibration protocol, a device-switch transition checklist can help you track what changes and what stays the same.
Common calibration errors and how to fix them
Most calibration problems trace back to a small set of causes. Recognizing them early saves you from acting on a skewed reading.
- Calibrating during rapid glucose change. The most common error. The fingerstick value and the sensor signal are describing different moments. Fix: wait for a flat trend arrow, then re-calibrate.
- Entering the value outside the allowed time window. If you perform the fingerstick but delay entering it in the app, the pairing is invalid. Fix: always enter the value within the device’s specified window, typically two to five minutes.
- Poor fingerstick technique. Unwashed hands, squeezing the finger hard to force blood, or using the first drop all skew the reading. Fix: wash and dry hands, use a gentle milking motion, discard the first drop.
- Faulty or expired meter strips. A meter giving inconsistent results will produce a bad calibration reference. Fix: run a control solution check; replace strips if they are past their expiration date.
- Sensor placement or adhesion issues. A sensor that is lifting, compressed, or placed over scar tissue may produce an erratic signal that no calibration can fully correct. Fix: follow manufacturer placement guidance; replace the sensor if adhesion is compromised.
- Calibrating during the warm-up window. The sensor algorithm is not yet stable. Fix: wait for the app to confirm warm-up is complete before entering any calibration value.
- Repeated calibration rejections. If the app rejects two or more consecutive calibrations, the sensor may be damaged or the meter may be significantly out of range. Fix: contact manufacturer support or your clinician. Do not continue relying on the device for treatment decisions until the issue is resolved.
Diatribe’s CGM accuracy tips reinforce that most accuracy problems users attribute to the sensor are actually technique or timing issues that a few simple habits can prevent.
What the research says about calibration and CGM accuracy
The published evidence on CGM accuracy is consistent on one point: no single number captures device performance completely. A systematic review in Therapeutic Advances in Endocrinology and Metabolism found that CGM performance reporting is inconsistent across studies and recommends using multiple metrics, including MARD, mean absolute difference, and consensus error grids, alongside standardized protocols. ISO 15197:2013 criteria are the most commonly cited regulatory benchmark.
The 2025 comparative study on PubMed illustrates why comparator method matters. A device that looks better in one study may simply have been tested against a less demanding reference.
Research on implantable and long-wear systems, including the Eversense 365, shows that scheduled user calibration can sustain accuracy across extended wear periods that factory-calibrated sensors are not designed to cover. The trade-off is user burden: weekly fingersticks versus no routine fingersticks.
Pro Tip: When reading a CGM accuracy study, check which reference method was used before comparing its MARD to another study’s number. A MARD against a YSI venous analyzer is a stricter test than one against a capillary meter, and the two are not directly comparable.
MARD also has a structural limitation worth knowing. Research on MARD as a real-world performance metric notes that the metric is influenced by the glucose distribution in the study sample and by rate of change. A sensor tested mostly in the euglycemic range will produce a lower MARD than one tested across a full hypo-to-hyperglycemic range, even if both devices perform identically in normal glucose territory. Error-grid analysis better reflects clinical risk because it weights deviations by the harm they could cause.
Calibration confidence: a practical mindset for CGM users
The most useful frame for calibration is trust with verification. Your CGM is accurate enough for most daily decisions when it is working correctly and calibrated properly. The device’s documented MARD range tells you the expected error envelope. When readings fall within that envelope and match how you feel, act on them.
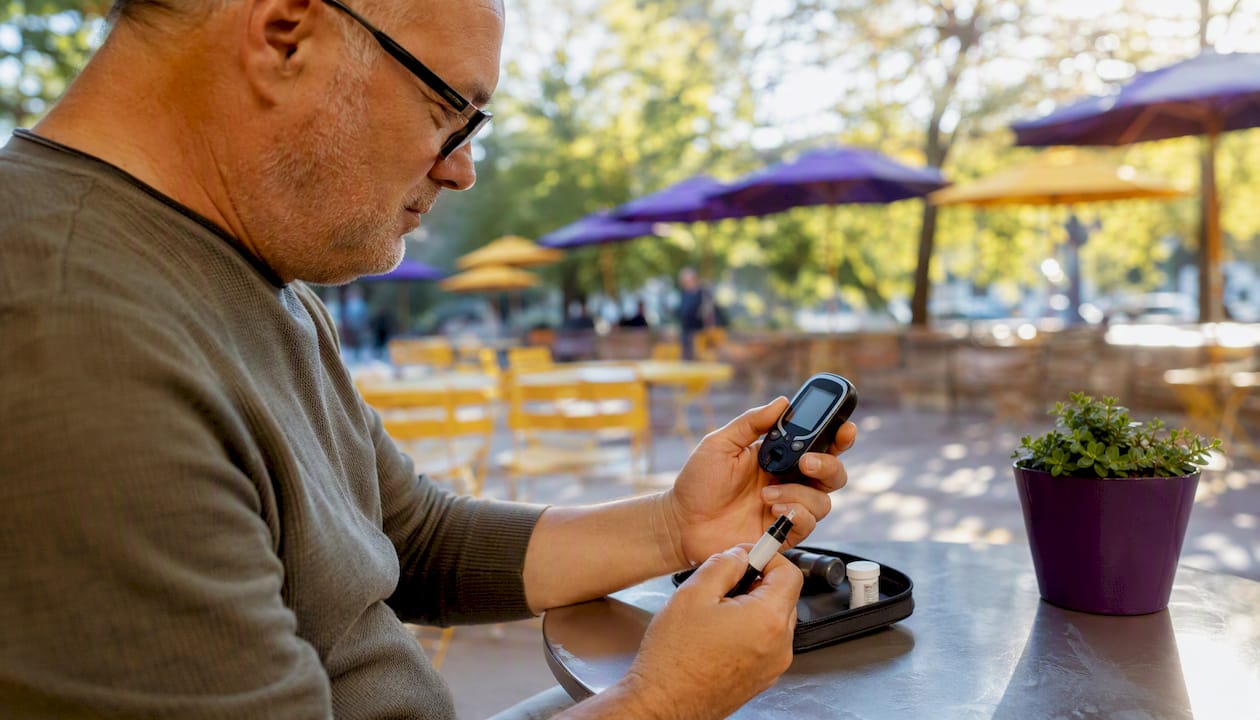
The moment to pause is when those two signals diverge. If the CGM shows 95 mg/dL and you feel the unmistakable signs of a low, do not wait. Confirm with a fingerstick. That is not a failure of the technology; it is the technology working as designed, with a human check built into the system.
One concrete habit that helps: keep a small note in your meter case listing your device’s calibration triggers, the warm-up time, and the allowed entry window. For user-calibrated systems like the Eversense 365, a weekly calendar reminder takes the memory work out of the equation entirely. For factory-calibrated systems, the note is simpler: “Confirm with fingerstick if symptoms and CGM disagree.” Either way, having the rule written down means you follow it under stress, which is exactly when it matters most.
Sources
The sources below were used to build this explainer. Each one is worth bookmarking for model-specific details or deeper technical reading.
- Calibration in Glucose Monitoring Explained
- Accu-Chek/mySugr calibration guidance
- Calibration (ADCES CGM glossary)
- Comparative performance study (PubMed ID 39902649)
- Factory-Calibrated Continuous Glucose Monitoring (MDPI/Biosensors article)
- Eversense 365 fingerstick calibration guidance (PDF)
If you have switched CGM systems and find yourself with unused, sealed sensors or supplies you no longer need, Orlando Diabetic Supplies Buyback offers same-day cash for Dexcom G6 and G7 sensors, FreeStyle Libre, Omnipod pods, and sealed test strips in Orlando and surrounding areas. Fast, local, and straightforward.
This article is general information, not a substitute for advice from a qualified doctor. Consult a qualified healthcare professional about your own circumstances before acting on anything here.