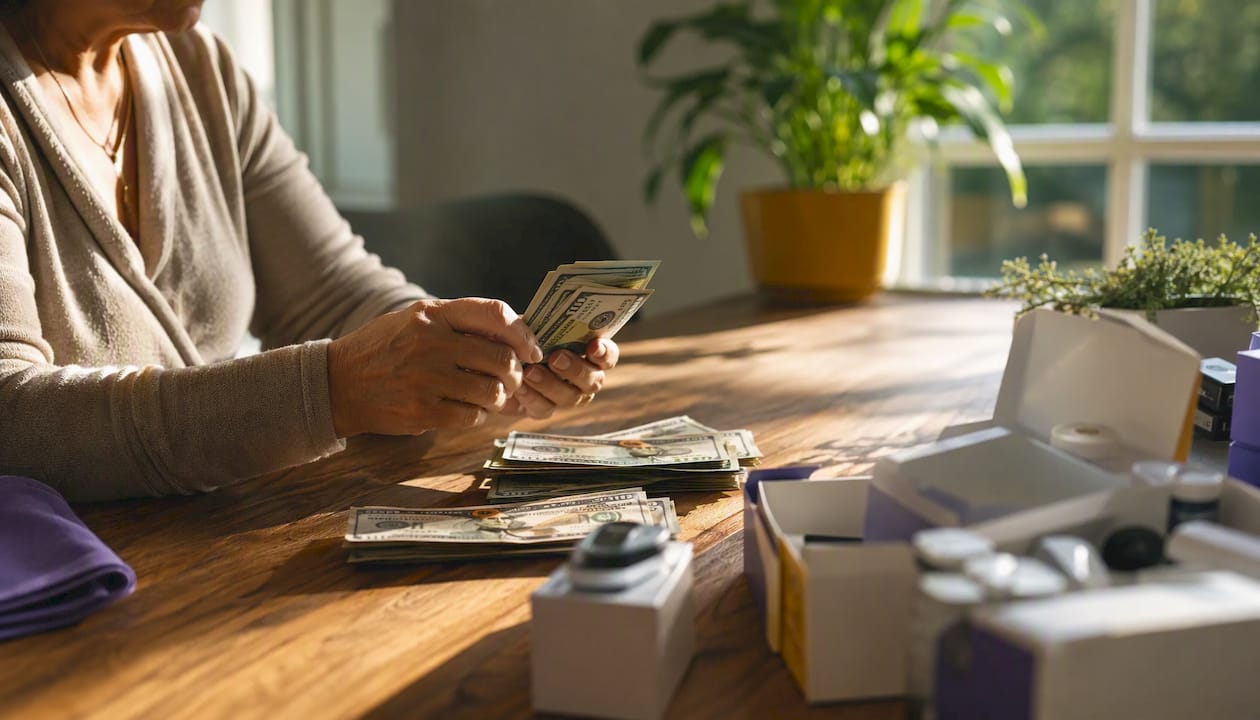
Before you deactivate anything, three actions protect you: keep your old device running until the new one is verified and delivering correctly; get a written dose sheet from your clinician that converts your pump basal into a long-acting insulin plan; and manually record every pump setting before you power it down. If the switch leaves you with sealed, unexpired supplies, those items have real cash value right now.
Your immediate action checklist:
- Keep your old device active until the new system is confirmed working and your clinician has given you a written basal/bolus dose sheet.
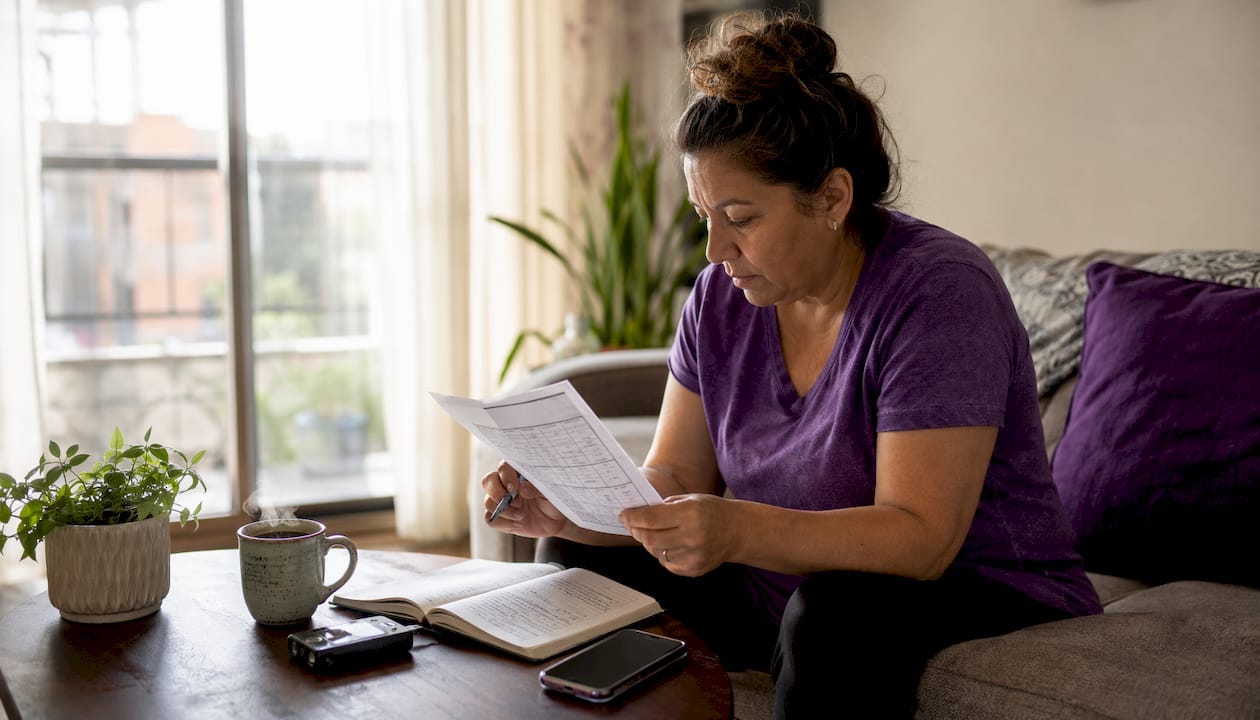
- Record all pump settings before deactivation: basal profiles by hour, insulin-to-carb (I:C) ratios, correction factors, DIA/insulin action time, glucose targets, and max bolus.
- Sort sealed, unexpired supplies (CGM sensors, pods, test strips) by type and check expiration dates. Orlando Diabetic Supplies Buyback offers same-day cash for eligible sealed items.
Table of Contents
- What does a complete device-switch checklist look like?
- What should you record from your old device before deactivating it?
- Why does the written dose sheet matter so much for safety?
- How do insurance and DME warranties affect your switch timeline?
- How do you sort and prepare sealed supplies for sale?
- What happens at a same-day buy-back inspection?
- What should you monitor and log in the first week after switching?
- Key Takeaways
- A practical note on buying and advising sellers in Orlando
- Get same-day cash for your sealed diabetic supplies in Orlando
- Useful sources
What does a complete device-switch checklist look like?
This checklist covers planned upgrades and unexpected pump failures. Follow it in order.
Before the switch:
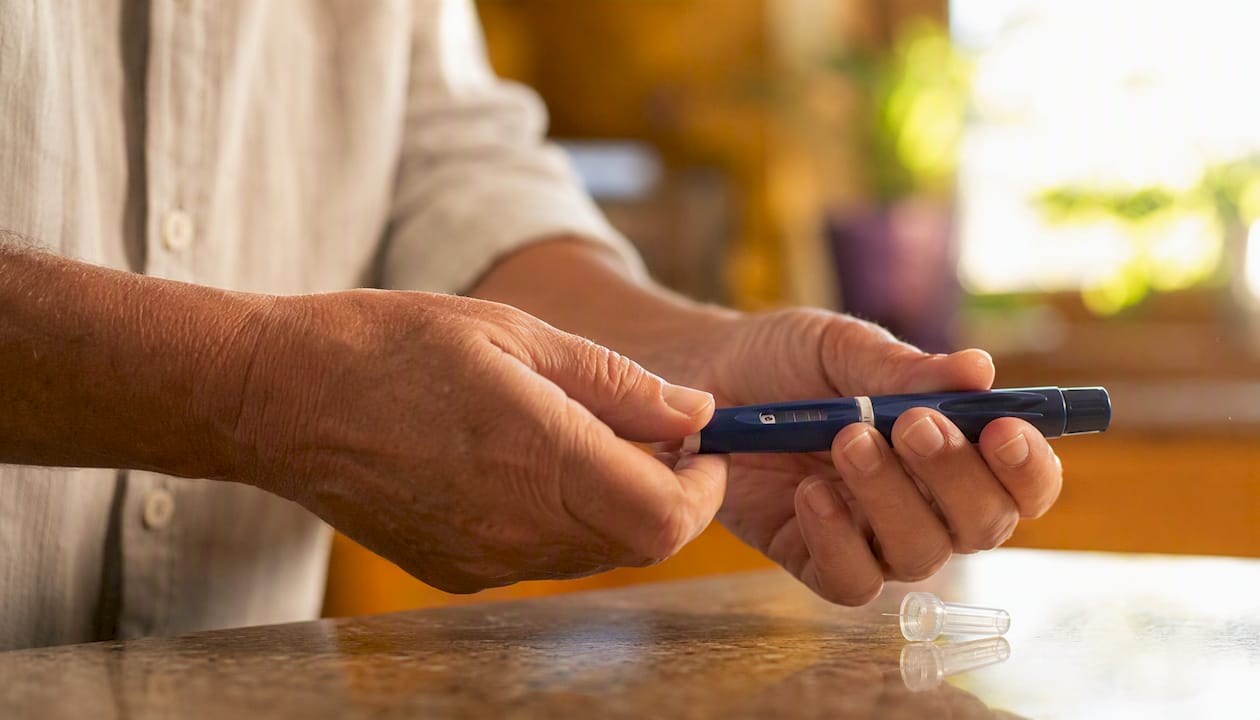
- Schedule a clinician visit and request a written dose sheet that converts your pump’s hourly basal into a long-acting insulin prescription, with carb ratios and correction dosing included. This is the single most critical document for preventing DKA and hypoglycemia.
- Ask your doctor for a long-acting insulin prescription and confirm you have rapid-acting insulin on hand as a backup.
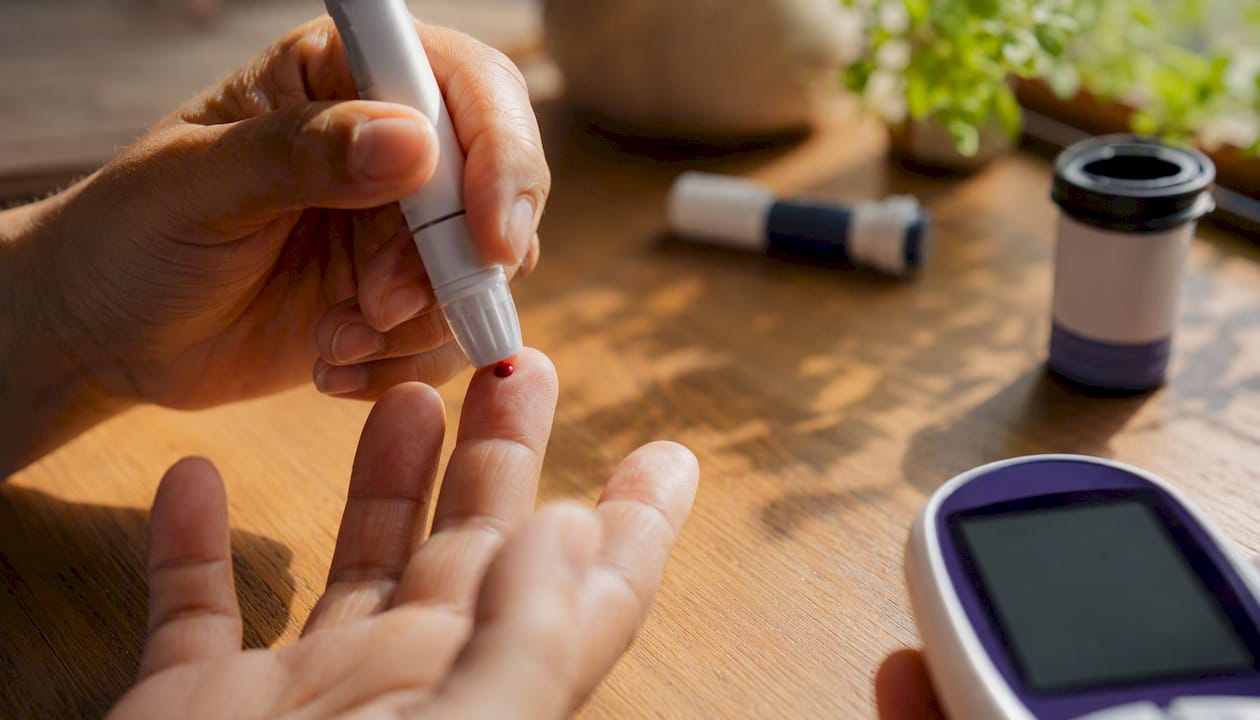
- Gather backup supplies: ketone strips, a blood glucose meter, lancets, and alcohol swabs.
- Export or screenshot all pump settings. If your device supports a data download, do it now.
During the handoff:
- Give your first long-acting basal dose using the clinician’s written guidance before stopping the pump.
- Keep the pump running until the long-acting insulin is confirmed active per your clinician’s timing plan.
- Log the exact time and dose of every injection.
After the switch:
- Check BG and ketones every 1–4 hours as advised, especially in the first 24–72 hours.
- Schedule a follow-up with your care team at 3–7 days.
- Before reconnecting pump automation, rebuild pump settings from your saved records rather than relying on memory.
Pro Tip: Keep a printed copy of your dose sheet and pump settings in your bag. If your phone dies or the app fails, that paper record is your safety net.
What should you record from your old device before deactivating it?
Device history and settings do not migrate automatically to a new system. Fill this table before you touch anything.
| Field | Example Entry | Where to Find It |
|---|---|---|
| Total daily basal (delivered) | — | Pump history or 14-day report |
| Basal segments by hour | — | Basal program screen |
| I:C ratio by time of day | Breakfast: 1:10, Dinner: 1:8 | Bolus wizard settings |
| Correction/sensitivity factor | — | Bolus wizard settings |
| Glucose targets | 100 mg/dL fasting, 120 mg/dL post-meal | Target settings |
| DIA / insulin action time | — | Bolus settings |
| Max bolus | 8 units | Safety settings |
What to save:
- Screenshots of every settings screen, not just the summary
- A PDF export or data download if your pump app supports it
- A manual written log as a backup to digital files
When you switch to an automated insulin delivery (AID) system, use delivered basal history rather than programmed basal when available. AID algorithms need roughly 48 hours of fresh data before adaptivity stabilizes, so expect some BG variability in the first two days.
Why does the written dose sheet matter so much for safety?
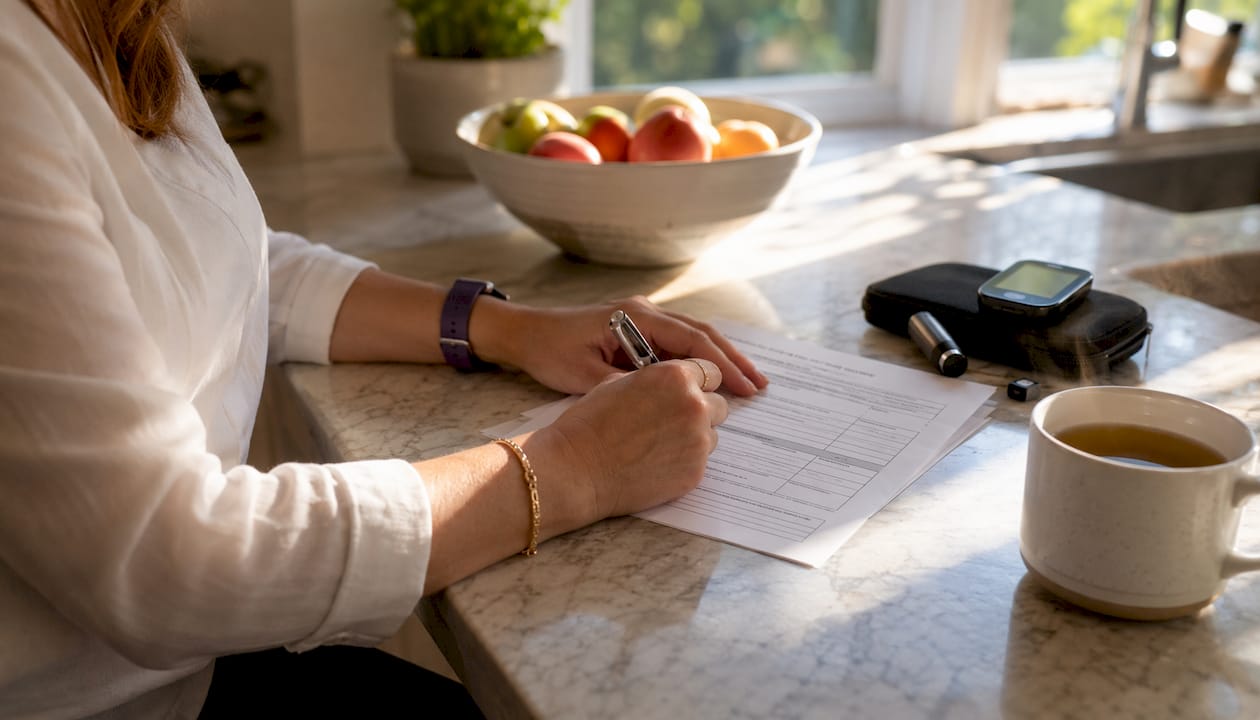
The written dose sheet is not optional. It converts your pump’s hourly basal delivery into a safe long-acting insulin starting dose and gives you carb ratios and correction factors you can use on injections. Without it, you are guessing at doses that could send you into DKA or a serious low.
A clinician-written dose sheet should include: the calculated long-acting insulin dose (often based on 80–100% of your 24-hour delivered basal, adjusted for recent lows or highs), your I:C ratios by meal, correction factors, and the timing overlap rules for stopping the pump safely.
Insulin compatibility check: Confirm that your chosen long-acting and rapid-acting insulins are appropriate for your delivery method. Switching insulin products requires checking manufacturer and clinical guidance for compatibility and dosing differences. Not every formulation behaves the same way in every device or at every injection site.
When to call your care team immediately:
- BG persistently above 300 mg/dL
- Moderate or large ketones
- Vomiting or signs of dehydration
- Any symptom you cannot explain
Pro Tip: If long-acting insulin is unavailable in an emergency, frequent small doses of rapid-acting insulin with ketone monitoring can bridge you until you reach your clinician. This is a short-term measure only — confirm the plan with your provider in advance.
A pump-failure checklist should include your manufacturer’s support number, your clinician’s after-hours contact, your dose sheet, backup insulin, ketone strips, and a meter. Keep it somewhere you can find it at 2 AM.
How do insurance and DME warranties affect your switch timeline?
Insurance is often the slowest part of a device change. Many AID systems fall under durable medical equipment (DME) benefits with 4–5 year warranty constraints, which can block a replacement order even when you have a clinical reason to switch. Pharmacy benefit pathways sometimes offer more flexibility, but not always.
Typical timeline checkpoints:
- Clinician visit and new prescription: 1–2 weeks to schedule
- Prior authorization from insurance: 2–6 weeks depending on plan
- DME or pharmacy order processing and shipping: 1–2 weeks
- Manufacturer training or first-time setup: 1–3 days
Questions to ask your insurance or DME coordinator:
- Is my device covered under DME or pharmacy benefit?
- What is the prior authorization timeline for a new AID system?
- Am I still in warranty on my current device, and does that block a replacement?
- What is the turnaround time for a replacement device if mine fails?
- Does the manufacturer or DME offer a trade-in or return program?
Understanding how insurance approvals work for CGMs and pumps before you start the process saves weeks of back-and-forth. If your plan covers Dexcom G6 and you are upgrading to Dexcom G7 or Dexcom G7 15 Day, Dexcom recommends contacting your DME or pharmacy now, since G6 manufacturing ends July 1, 2026.
How do you sort and prepare sealed supplies for sale?
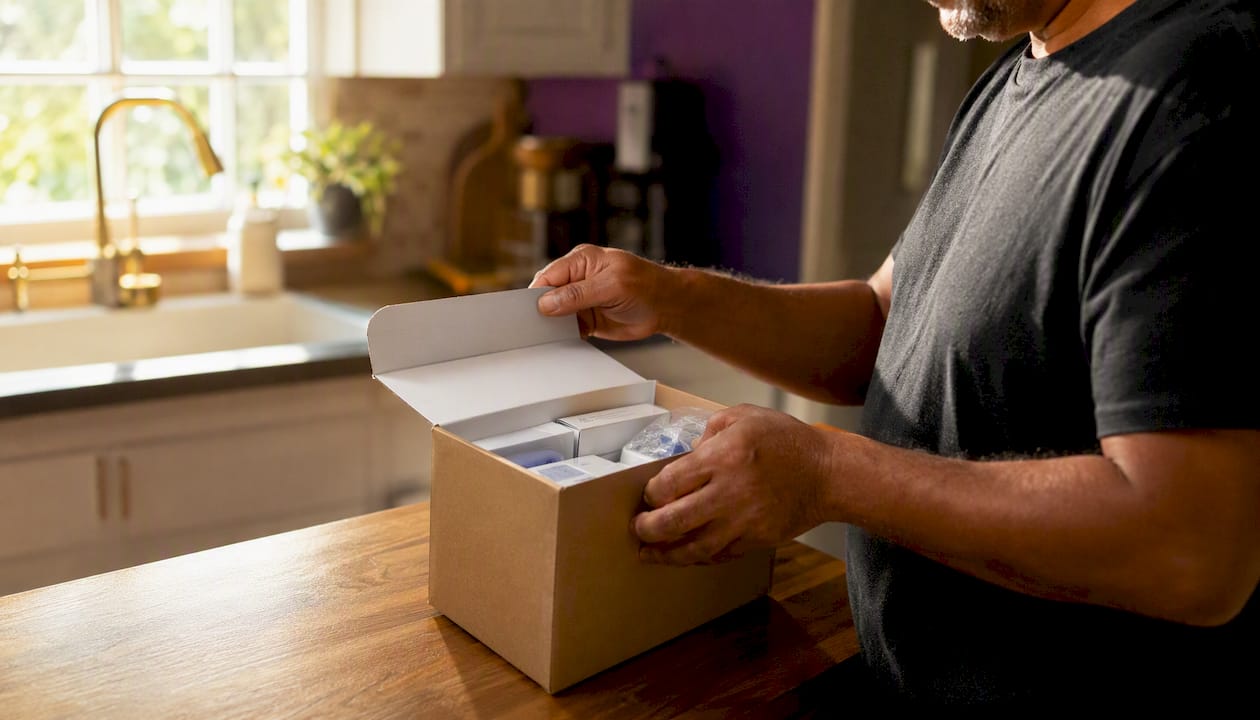
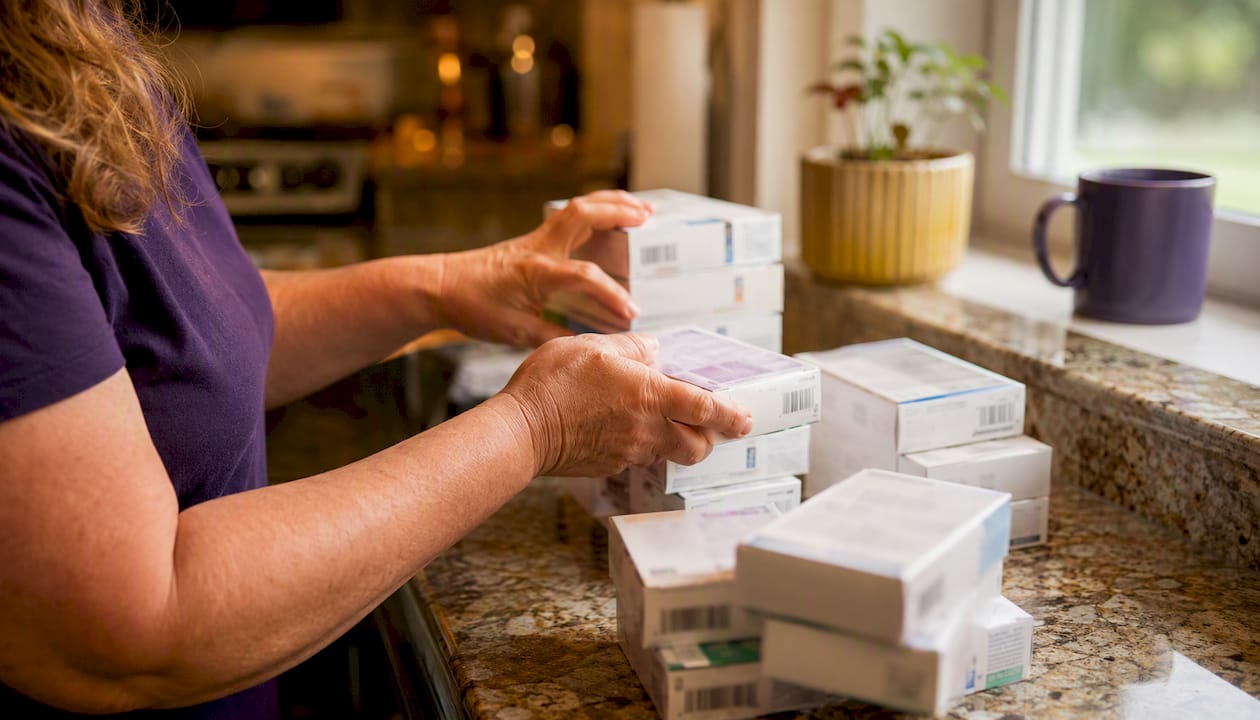
A device switch often leaves you with sealed, unexpired supplies you no longer need. Changing diabetes medication or devices is one of the most common reasons people end up with overstock. Those items can be worth real cash if you prepare them correctly.
Sort by type first:
- CGM sensors: Dexcom G6, Dexcom G7, FreeStyle Libre
- Pods: Omnipod
- Test strips: major brands only
Pre-sale checklist for each item:
- Confirm the box is factory sealed and the blister is intact.
- Check the expiration date. Expired items are not accepted.
- Verify the lot number is visible on the original packaging.
- Keep the original box and instructions together.
- Photograph the expiration date, lot number, and sealed packaging before you leave home.
What reduces value or triggers rejection:
- Opened seals or tampered packaging
- Expired items
- Damaged or water-stained boxes
- Missing lot or serial numbers
- Partial boxes (half-used sensor packs)
Store items at room temperature and away from moisture until inspection. A quick expiration date check before you pack up saves a wasted trip.
What happens at a same-day buy-back inspection?
The process is straightforward. A buyer verifies sealed packaging, checks expiration and lot numbers, confirms the brand and model (Dexcom G6/G7, FreeStyle Libre, Omnipod pods, major-brand test strips), and confirms your identity. The whole inspection usually takes a few minutes per item type.
Value factors buyers consider:
- Item type: sensors and pods typically command higher offers than test strips
- Remaining shelf life: more time left means more value
- Brand demand: Dexcom G7 and Omnipod pods are in high demand right now
- Quantity: larger lots often get better per-unit offers
- Packaging condition: clean, intact boxes with visible lot numbers move fastest
Bring a photo ID. If you have photos of your items ready, many buyers can pre-qualify your supplies before you arrive, which speeds the visit considerably.
What should you monitor and log in the first week after switching?
The first 72 hours after a device change carry the highest risk for both highs and lows. Check BG before every meal, at bedtime, and any time you feel symptomatic. Check ketones if BG is above 250 mg/dL or you feel unwell.
Daily log fields to keep:
- Date and time
- BG reading
- Ketone reading (if elevated)
- Insulin given: type, dose, and time
- Meal carbs
- Symptoms or unusual events
- New device events (sensor restarts, pod changes, alarms)
Schedule a follow-up with your clinician or device trainer at 3–7 days and again at 14–30 days. If your new device has a connected app, upload data before each visit so your care team can see the full picture. When restarting pump automation after a period on injections, confirm the time of your last long-acting dose and discuss a temporary basal reduction with your clinician to avoid overlapping basal effects.
Key Takeaways
A safe diabetes device switch requires three things done before deactivation: a written dose sheet from your clinician, a complete manual record of all pump settings, and a confirmed backup insulin supply.
| Point | Details |
|---|---|
| Written dose sheet first | Get a clinician-written plan converting pump basal to long-acting insulin before stopping any device. |
| Record every pump setting | Save basal profiles, I:C ratios, correction factors, and DIA before deactivation — settings do not migrate automatically. |
| Monitor closely post-switch | Check BG and ketones every 1–4 hours for the first 72 hours and schedule a 3–7 day follow-up. |
| Prepare sealed supplies correctly | Keep items factory sealed, check expiration dates, and photograph lot numbers before any inspection. |
| Orlando Diabetic Supplies Buyback | Brings sealed, unexpired Dexcom G6/G7, FreeStyle Libre, Omnipod pods, and test strips for same-day cash in Orlando. |
A practical note on buying and advising sellers in Orlando
Most people who come to me with sealed supplies after a device switch have done the hard part already: they switched safely and now they have a box of sensors or pods they will never use. What I see slow things down at inspection is packaging that has been stored in a hot car, lot numbers that have rubbed off, or partial boxes mixed in with full ones.
The sellers who get the fastest offers and the best results bring organized supplies with photos taken at home. A clear shot of the expiration date and lot number on each box, taken before you leave, lets me pre-qualify items and have a number ready when you walk in. It takes five minutes and it genuinely makes a difference to the offer.
Get same-day cash for your sealed diabetic supplies in Orlando
You have done the work of switching devices safely. If that switch left you with sealed, unexpired Dexcom G6 or G7 sensors, FreeStyle Libre sensors, Omnipod pods, or major-brand test strips, Orlando Diabetic Supplies Buyback will buy them from you today.
Bring your original sealed packaging, visible lot and expiration numbers, and a photo ID. If you have a short photo inventory ready, contact us before you come in and we can pre-qualify your items for a faster visit. Payment is on the spot, cash or electronic transfer, after inspection.
Get cash for your unused supplies today. Selling Dexcom G7 sensors in Orlando is one of the most common requests we handle, and the process takes minutes.
Useful sources
| Source | What you will find there |
|---|---|
| Loop & Learn: Going Analog pump-to-MDI transition | Dose-sheet templates, pump-to-MDI conversion math, overlap timing rules, and buy-back guidance for unused supplies |
| ADA HCP Resource: AID Practice Considerations | Pre-deactivation settings checklist, AID first-time setup guidance, and insurance/DME benefit considerations |
| DiaTribe: What to do when you can’t use your insulin pump | Clinician-backed pump-failure checklist, backup insulin bridging strategy, and emergency contact guidance |
| NHS Specialist Pharmacy Service: Switching insulin products | Insulin formulation compatibility and safety considerations when changing delivery method or product |
| Omnipod: Switching to a new Omnipod 5 device | First-time AID setup steps, adaptivity stabilization timeline (48+ hours), and data migration notes |
| Dexcom: Upgrade from G6 to G7 | Step-by-step G6-to-G7 upgrade path, AID compatibility by pump model, and app/receiver transition notes |
| Interior Health: Insulin pump management in emergency and acute care | Hospital-grade pump-to-MDI conversion protocol with TDD calculation and bolus scheduling examples |
This article is general information, not medical advice. Confirm all dosing decisions and device changes with your healthcare provider before acting.