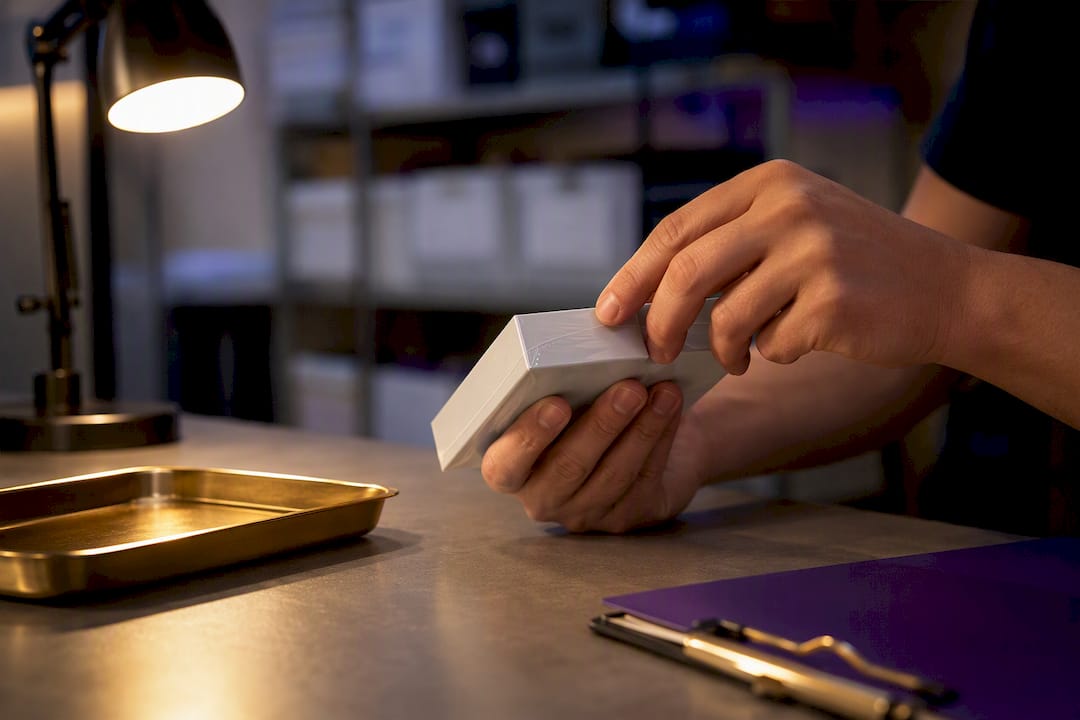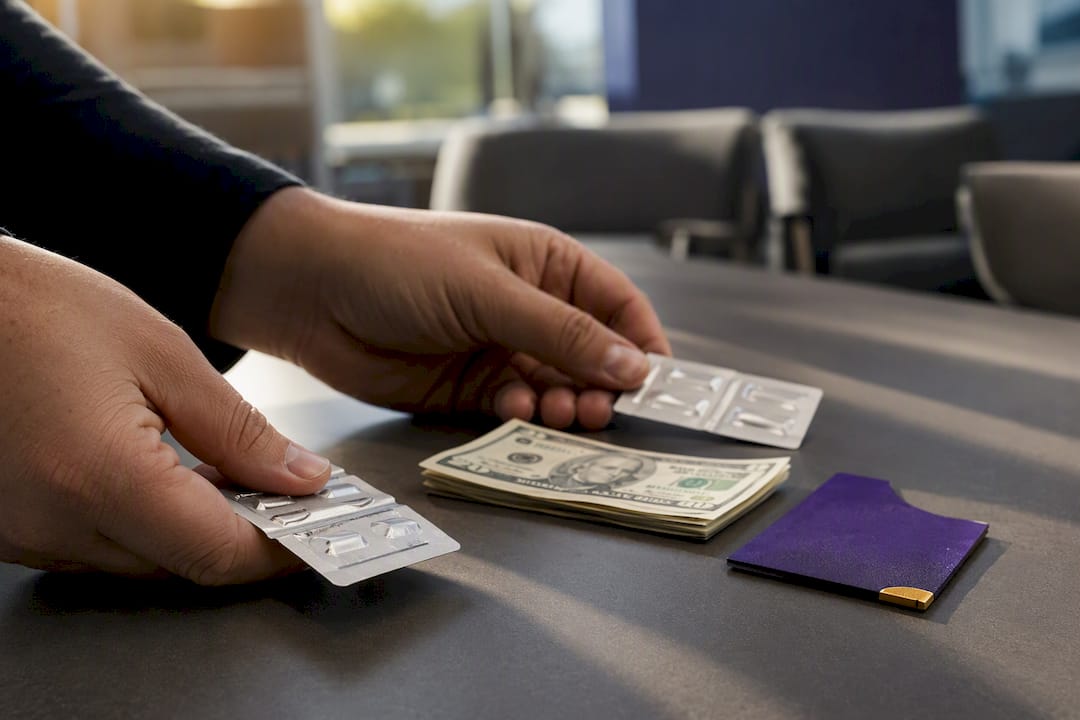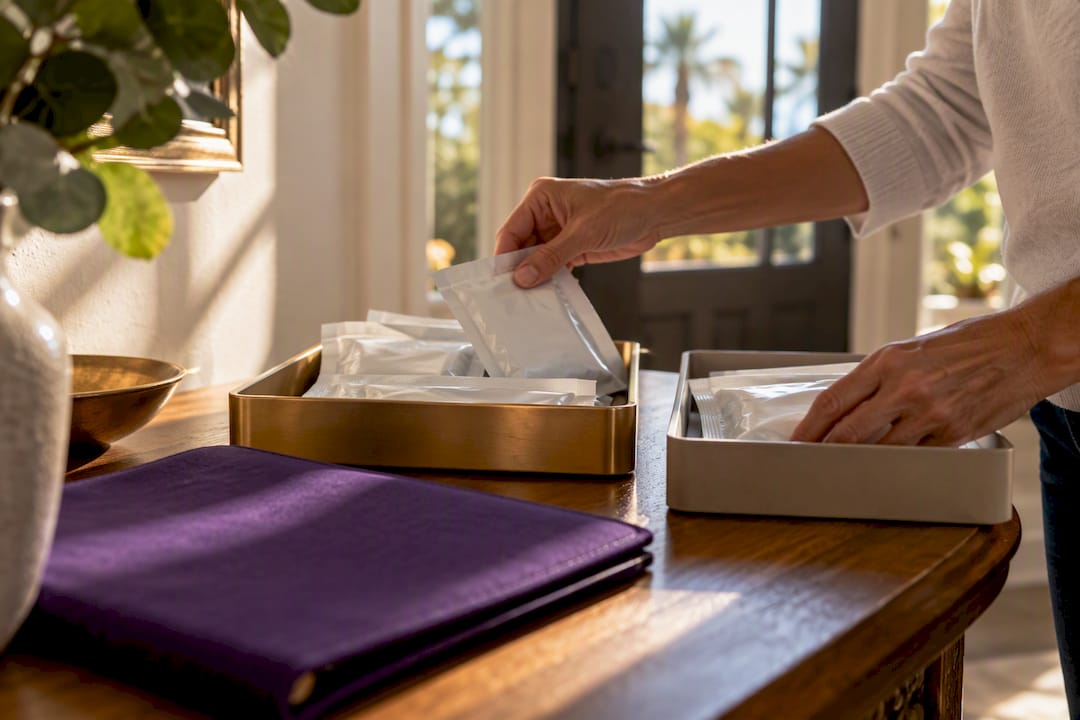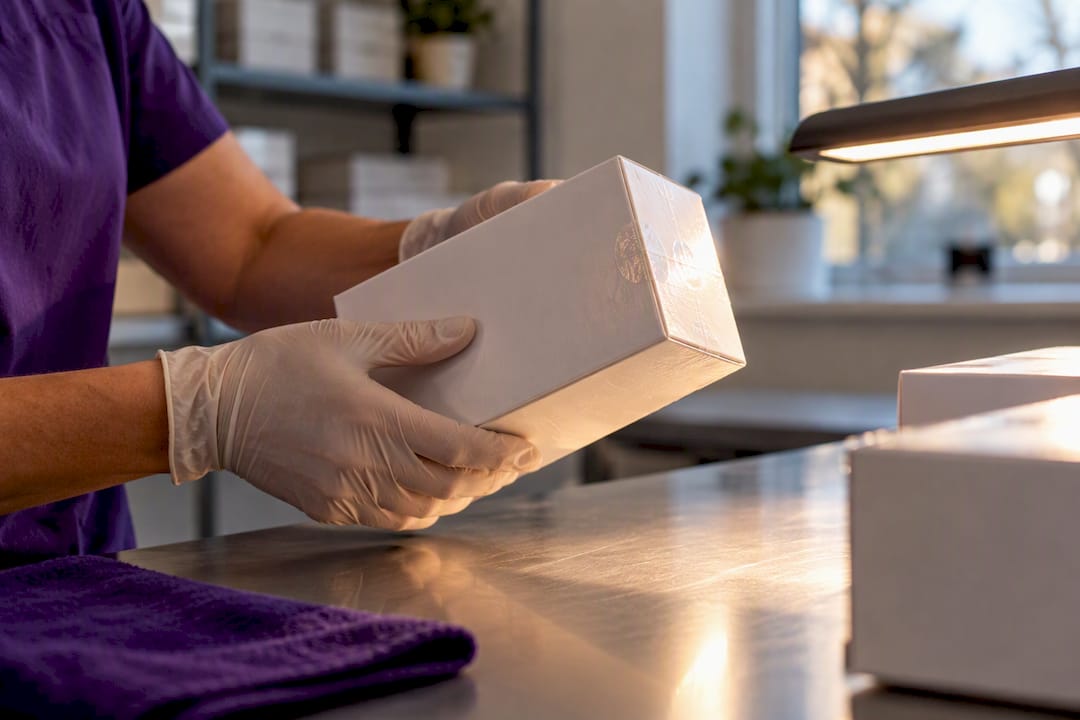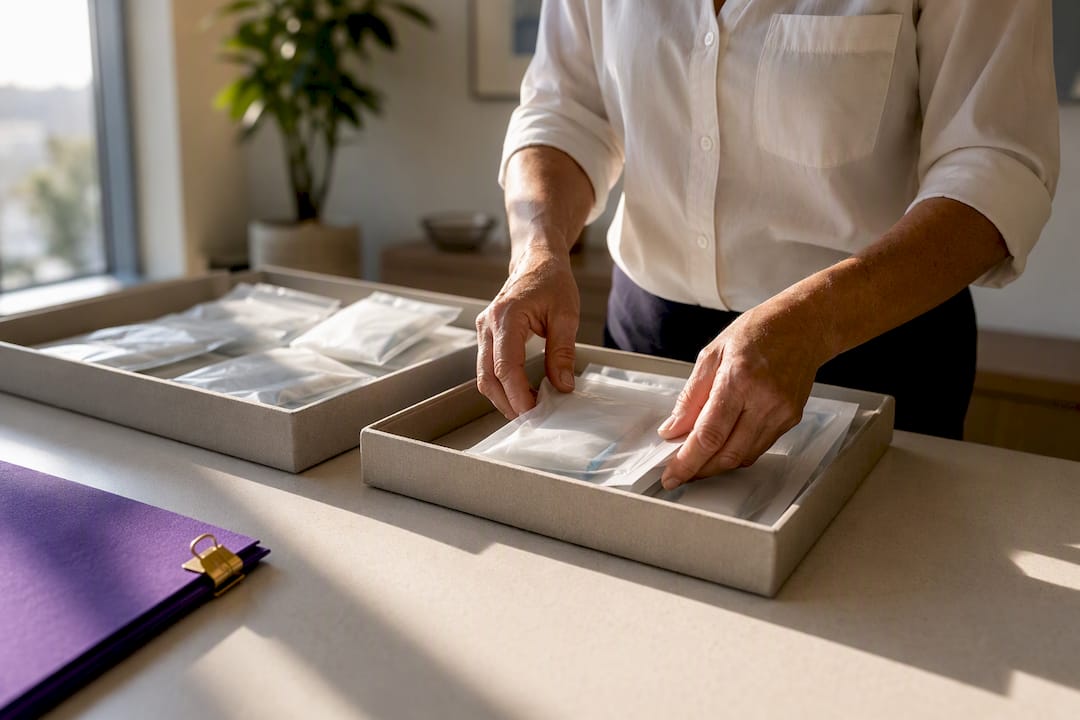
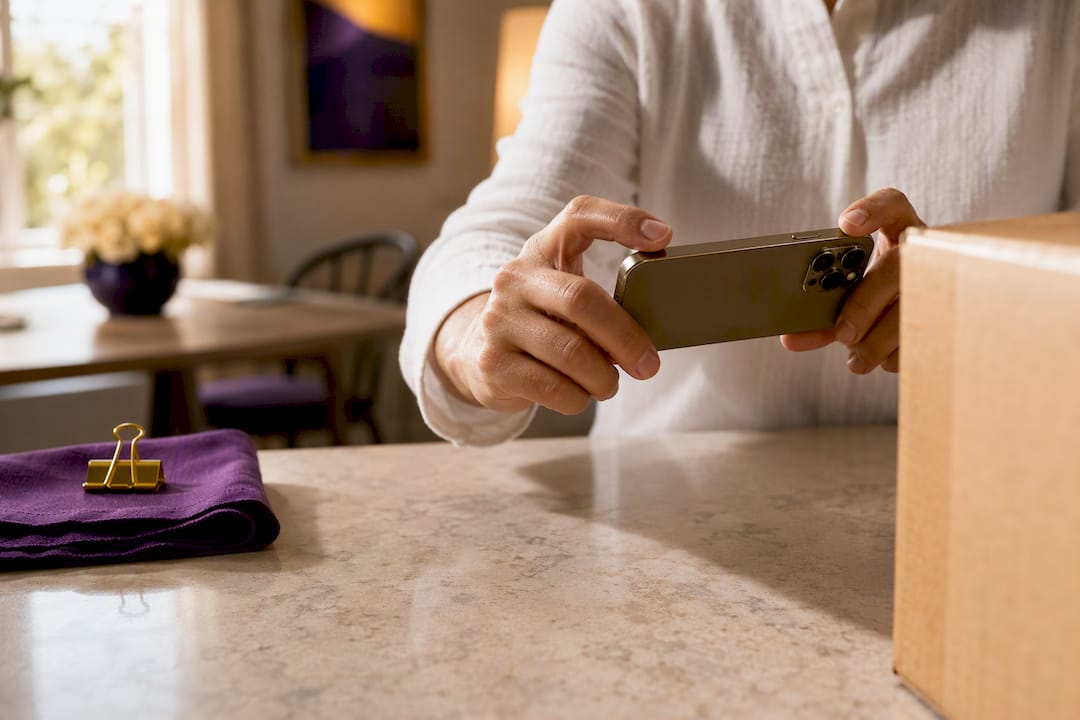
Set up in one spot with diffused light and a clean backdrop, then shoot five standard images every time: an overview, a label close-up, the expiration or seal, a quantity shot, and any defect. That single routine removes most of the guesswork a buyer has before paying, whether you’re listing a lens kit online or offering unused diabetic supplies for cash. Consistency, not fancy gear, is what actually moves items faster.
TL;DR:
- Consistent lighting, a plain background, and a fixed setup help produce uniform, trustworthy photos that buyers rely on to verify product details.
- The five essential shots are an overview, label close-up, expiration or seal, quantity, and defect, with optional lifestyle images that do not replace these core photos.
- Lock focus on the label before shooting and shrink images to thumbnail size to ensure text remains legible at small viewports, increasing the chances of a sale.
- Avoid misleading props or staging that imply missing components, as the FTC enforces strict rules against false representation in product images.
- For quick cash sales, only three photos are needed: an overview, label close-up, and expiration date, simplifying the process and avoiding prolonged listing or messaging.
Table of Contents
- Quick-Start Setup for Photos for Selling Supplies
- What Photos Should You Take First?
- Staging Supplies Without Misleading Buyers
- Camera Settings That Prevent Blurry or Glare-Heavy Photos
- Editing, File Naming, and Image Optimization
- How Should Photos Change by Platform?
- Photographing Branded or Regulated Supplies: A Seller’s Checklist
- What I’ve Learned Watching Sellers Get This Right (and Wrong)
- A Faster Option Than Listing and Waiting for a Buyer
- Sources
- FAQ
Quick-Start Setup for Photos for Selling Supplies
You don’t need a studio. You need a spot you can return to every time so your photos look like they came from the same seller, because they did.
Pick one device and stick with it. A modern phone camera handles most supply photography fine; a dedicated camera helps with low light or fine label text, but only if you’ll actually learn its settings. Switching between the two mid-batch is how listings end up looking mismatched.
Light matters more than the device. Position your setup near a window for soft, even daylight, or add a desk lamp with a diffuser if the room runs dark. Direct flash creates harsh glare on plastic packaging and glossy labels, which is exactly where buyers look first for verification.
A few basics keep every shoot repeatable:
- Use a tripod or prop your phone against something solid to kill blur
- Lay down a plain white sheet, poster board, or neutral cloth as your backdrop
- Shoot at the same distance and angle each time so your listings look like a matched set
- Keep the light source consistent (same window, same time of day, same bulb) so colors don’t drift between photos
This setup costs close to nothing and works whether you’re photographing a single sealed box or a full batch of unused supplies you’re organizing for sale.
What Photos Should You Take First?
Buyers decide fast. The first image has to identify the item instantly; every photo after that answers a specific question about condition, quantity, or authenticity.
Shoot these five in order:
- Hero overview. The whole item, centered, fully in frame, on your clean backdrop.
- Label or model close-up. Straight on, sharp enough to read every word without zooming.
- Expiration date or seal. This is the shot that ends disputes before they start.
- Quantity or lot shot. Line up boxes or units so a buyer can count them at a glance.
- Defect close-up (if any). Show damage honestly rather than let a buyer discover it after paying.
An optional sixth shot, a lifestyle or context image, can help but never replaces the five above.
Before you upload anything, shrink your hero image down to thumbnail size on your own screen. If the brand name or key detail turns unreadable at that size, reshoot it tighter. Most buyers scroll past listings in under a second, and a blurry thumbnail never gets that second look.
Pro Tip: Shoot the label close-up before you style anything else. Once packaging gets shifted for a “nicer” arrangement, text can end up angled or shadowed, and you’ll have to start over.
Staging Supplies Without Misleading Buyers
A tidy background helps sell the item. A background that implies something isn’t included is a different problem entirely, and it’s one the FTC treats seriously because the overall impression of a photo counts as part of your claim about the product.
Keep staging simple and honest:
- Use plain white or neutral gray for anything you want buyers to focus on cleanly (small supplies, sealed boxes, individual sensors)
- Use a contextual surface, like a kitchen counter, only when it helps show real scale or use
- Never include props (chargers, cases, accessories) unless they’re actually part of the sale; if you use one for scale, say so in the caption
- For bundles, shoot the full group together first, then break out one representative single item for a detail shot
That combination tells a buyer exactly what they’re getting and exactly what they aren’t, which cuts down on refund requests and messages asking “does this come with…?”
Camera Settings That Prevent Blurry or Glare-Heavy Photos
Most bad supply photos fail for one of two reasons: blur or glare. Both are fixable with settings you probably haven’t touched.
On a phone, shoot at your camera’s highest resolution setting and tap to lock focus and exposure on the label before you shoot. Skip digital zoom entirely; step closer instead, since zoom just stretches pixels and makes text mushy.
On a dedicated camera, a narrower aperture (higher f-number) keeps more of the item in focus, a faster shutter avoids hand-shake blur, and a lower ISO keeps grain out of your shadows. Lock your white balance manually so colors stay consistent across the whole batch.
Glare shows up most on glossy boxes and plastic sensor casings. Fix it by:
- Angling your light source off to the side instead of straight at the item
- Rotating the item slightly rather than the camera
- Using a polarizing filter or a simple diffuser sheet over your light if you have one
- Keeping the tripod locked in place so every shot in the batch matches in framing
Following a no-flash, no-clutter approach solves most of this before you even get to editing.
Editing, File Naming, and Image Optimization
Editing should make your photo clearer, not different. Adjust white balance, exposure, and a light touch of sharpness. Skip anything that changes the actual color or condition of the item. A buyer who receives something that doesn’t match the photo is a buyer who leaves a bad review or asks for a refund.
Name your files so anyone (including you, three weeks later) can verify what’s in them: brand, model, quantity, and date works well, like Dexcom-G7-3pack-030126.jpg. This small habit speeds up buyer questions and your own inventory tracking.
For file size, aim for images around 1,500 to 2,000 pixels on the longest side for marketplace uploads. That’s sharp enough for buyers to zoom in on a label but light enough to load fast on mobile. According to Google’s own research, page load speed directly affects how long visitors stay, and a slow-loading listing loses browsers before they even see your fifth photo.
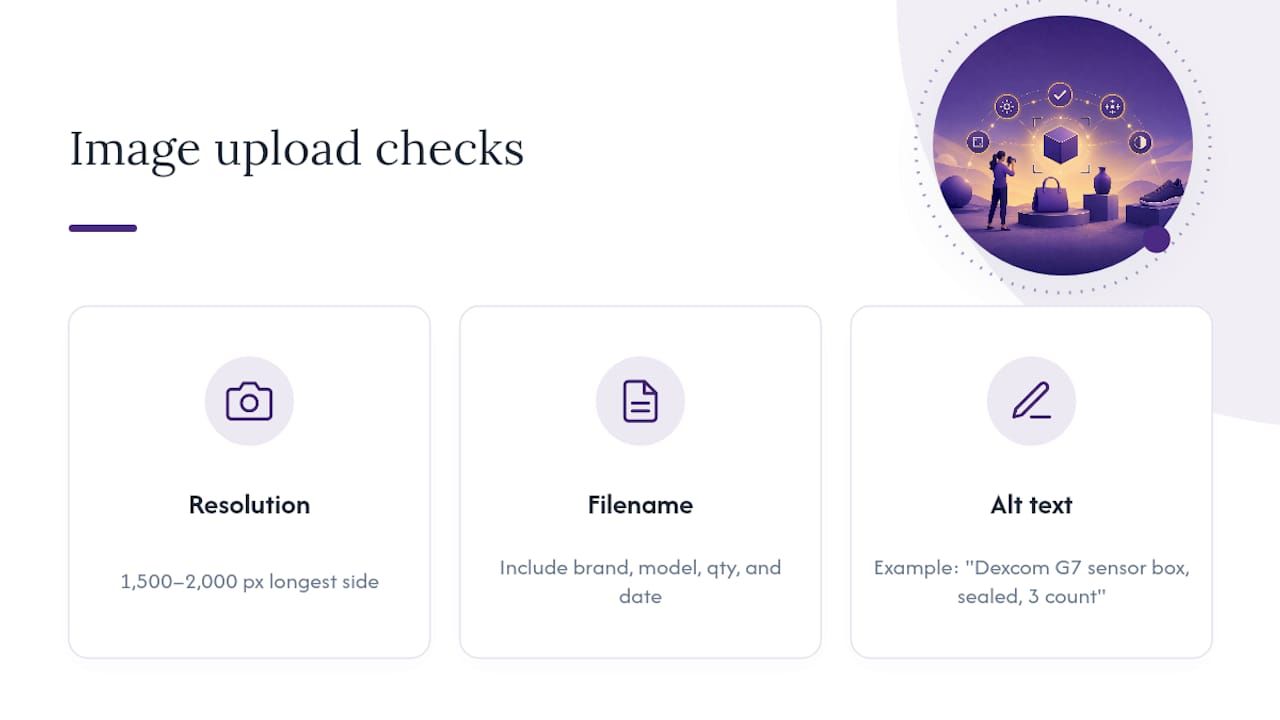
Write alt text as a short, honest phrase: “Dexcom G7 sensor box, sealed, 3 count” beats a generic “diabetic supplies” tag every time, both for accessibility and for search visibility.
How Should Photos Change by Platform?
Not every platform wants the same crop. Knowing the difference saves you from reshooting later.
- Marketplace listings usually want a clean, often white-background hero as the main image, so check the specific site’s image rules before uploading, since exact pixel and ratio requirements vary
- Social media posts do better with square or vertical crops and a bit more lifestyle context, since scrolling feeds reward visual interest over sterile product shots
- Message previews shrink your image small, so double-check that labels and key text stay legible even at thumbnail size in a chat window
- Order your listing images the same way every time: hero first, then label and quantity detail, then any defect shot, then lifestyle last
That order matches how buyers actually think through a purchase decision, from “what is this” to “what condition is it in.”
Photographing Branded or Regulated Supplies: A Seller’s Checklist
Brand-labeled and medical-adjacent supplies get more scrutiny than a used lamp or a secondhand jacket, and the photos need to hold up to that scrutiny.
The rule that matters most: photograph the actual item you’re selling, not a stock photo or an AI-generated mockup. AI mockups are fine for testing an ad concept, but they’re risky as the real listing photo for anything brand-labeled or regulated, since a mismatch between the photo and the physical item creates trust problems fast.
Your evidence shots should cover:
- Brand and model name, sharp and fully readable
- Lot number or serial number, if printed on the box
- Expiration date and seal condition, unedited and clear
- Full quantity count, visible in one frame
- Any included accessories, listed and shown
Keep your original, unedited files on hand. Many buyers, including local buy-back services, still confirm final details through an in-person inspection even after reviewing clear photos, so the photo gets you to the table, but the physical check closes the deal.
What I’ve Learned Watching Sellers Get This Right (and Wrong)
The sellers who move supplies fastest aren’t the ones with the nicest camera. They’re the ones who repeat the same five-shot routine every single time: setup, overview, label, expiration, quantity, defect check, then a thumbnail test before posting. That consistency is what buyers actually respond to, more than lighting quality or backdrop choice.
The mistakes I see over and over are almost always avoidable. Unreadable labels top the list, usually from skipping the focus lock. Over-editing comes next, where a seller brightens a photo so much the actual condition gets hidden. Misleading props (a charger that isn’t included, a case shown but not sold) create disputes that didn’t need to happen. And single-image listings, no matter how good that one photo is, always underperform a full set. Buyers trust what they can verify from multiple angles, not one perfect shot.
— Liliana
A Faster Option Than Listing and Waiting for a Buyer
If you’d rather skip the photo editing, the back-and-forth messages, and the wait for the right buyer to show up, there’s a more direct route: sell your unused diabetic supplies for same-day cash instead of listing them yourself. There is an alternative to the whole listing process for sellers near Orlando. No staging a backdrop, no writing captions, no waiting days for the right offer. You bring the item, get it inspected in person, and walk away paid.
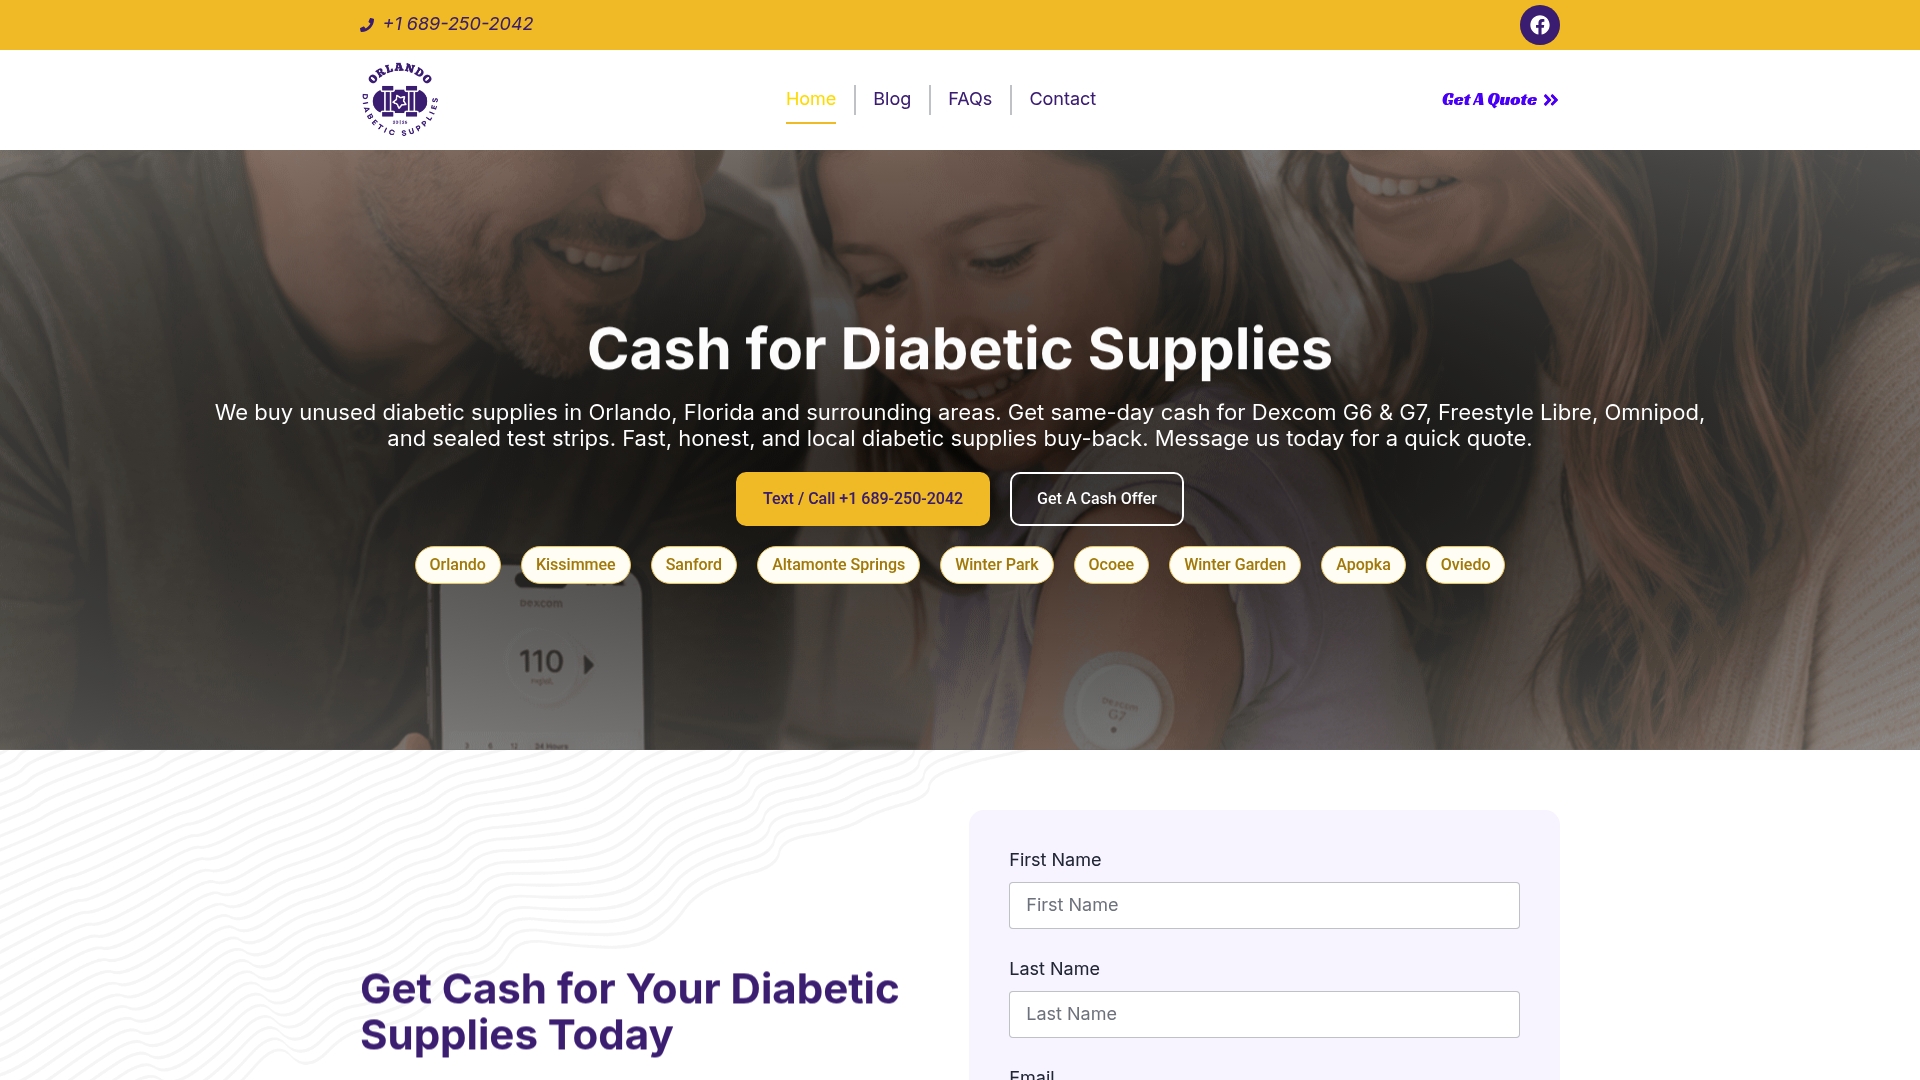
The photos this service asks for before you meet up are simple: an overview shot, a clear label close-up, and the expiration date. That’s it. Send those over and you’ll get a fast read on whether your item qualifies before you even leave the house. Sellers with a Dexcom G7 on hand can check current buy-back pricing for Dexcom G7 sensors, and anyone with a FreeStyle Libre 2 sensor can see what it’s worth toward a same-day sale. If you’re not sure your supplies qualify yet, start at Orlando Diabetic Supplies Buyback and send a few quick photos to find out.
Sources
For deeper reading on the techniques covered here, the Hackingphotography on low-cost setups is worth a full read, along with GoDaddy’s practical picture-taking guide. If you plan to use any stock imagery for backgrounds, review the Pexels license terms first. Always check your specific marketplace’s own image-upload rules, since exact size limits vary by platform.
- 11 simple tips on how to take better pictures to sell goods
- AI Product Photos: When to Mock Up vs Shoot Real
- How To Photograph Your Product to Enhance Your Online Sales in 4 Easy Steps
FAQ
How Do You Take Photos for Selling Items?
Set up in one consistent spot with diffused natural light and a plain backdrop, then shoot an overview, a label close-up, a quantity shot, and any defect close-up for every item. Lock your focus on the label before shooting so text stays sharp, and check your hero image at thumbnail size before posting.
What Kind of Pictures Can You Sell for Money?
Beyond product listings, some sellers earn from stock photography, lifestyle images, or licensed creative work sold through stock libraries. That’s a separate market from selling physical supplies, where the goal is documenting your actual item accurately rather than creating generic stock imagery.
Where Can You Find Free Stock Photos for Products?
Libraries like Pexels offer free images under specific license terms that allow commercial use in many cases. Stock photos work for background inspiration or promotional graphics, but they should never stand in for a photo of the actual item you’re selling.
What Makes a Good Backdrop for Selling Items?
A plain white sheet, poster board, or neutral cloth works best because it keeps attention on the item and matches most marketplace image guidelines. For diabetic supplies specifically, a clean, uncluttered surface also makes labels, seals, and quantity easier for a buyer, or a buy-back service, to verify at a glance.
Does Orlando Diabetic Supplies Buyback Require Specific Photos?
Orlando Diabetic Supplies Buyback typically asks for an overview shot, a readable label close-up, and the expiration date before an in-person meetup. Current buy-back pricing for items like the Dexcom G7 and FreeStyle Libre 2 is listed directly on the service’s pricing pages.